LEGO sewing machine tutorial
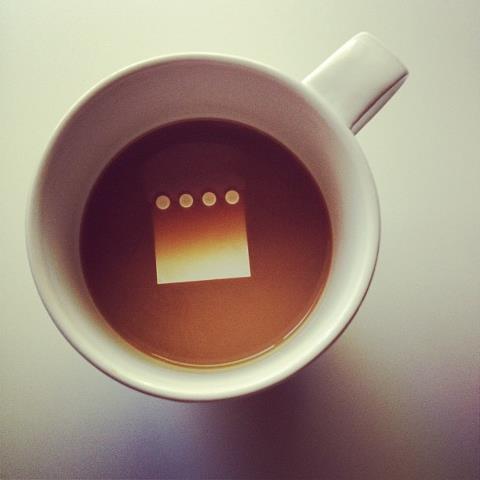
LEGOs, LEGOs everywhere…I even have LEGOs in my coffee cup every day. My little ladybird puts one in each morning—with a great deal of exuberance. It is our funny ritual. She goes running to get a LEGO when she first sees me with coffee in hand.
98 Comments